
Painting kitchen cabinets for beginners is a great way to transform your kitchen without breaking the bank. With the right supplies and a little bit of know-how, you can give your cabinets a fresh new look that will last for years to come.
Hey there, friend! If you’re a beginner looking to transform your kitchen cabinets without breaking the bank, you’ve come to the right place. As a pro painter, I’ll guide you through an easy-to-follow, step-by-step process to paint your cabinets like a pro. Let’s dive in!
Step 1: Essential Supplies You Need for Painting Kitchen Cabinets as a Beginner

Before painting your kitchen cabinets as beginner, it’s essential to gather all the required supplies. Trust me, you don’t want to be halfway through the process and realize you’re missing a crucial item! Here’s a list of items you’ll need:
- Primer (your best bud for a smooth, long-lasting finish)
- Deglosser (the secret weapon for better paint adhesion)
- Sanding tools (sandpaper or sanding sponge — either one’s got your back)
- Paint rollers (because who wants brush strokes all over their cabinets?)
- High-quality brushes (you’ll thank me later for the flawless finish)
- Semi-gloss paint (opt for VOC-free if you’re eco-conscious)
- Chemical-resistant gloves (no one wants paint-stained hands, right?)
- Wood filler (it’s like a magic eraser for holes and cracks)
- Painter’s tape (our trusty sidekick to keep things neat and tidy)
- Drop cloth (protection for your floors and countertops)
- Screwdriver (for taking off that pesky hardware)
Pro tip: Invest in high-quality brushes and rollers. They’ll not only make the painting process smoother but also give you a professional-looking finish.
Step 2: Prepare Your Workspace
Preparing your workspace is crucial for a successful cabinet painting project. Trust me; I’ve learned this the hard way!
Proper Ventilation
Paint fumes can be harmful, so make sure you have adequate ventilation in your workspace. Here are a few tips:
- Open windows and doors to improve airflow.
- Use fans to circulate air and direct fumes out of the room.
- If possible, paint cabinet doors and drawer fronts outside or in a well-ventilated garage.
Pro tip: Take frequent breaks and step outside for fresh air to minimize your exposure to paint fumes.
Safety Precautions
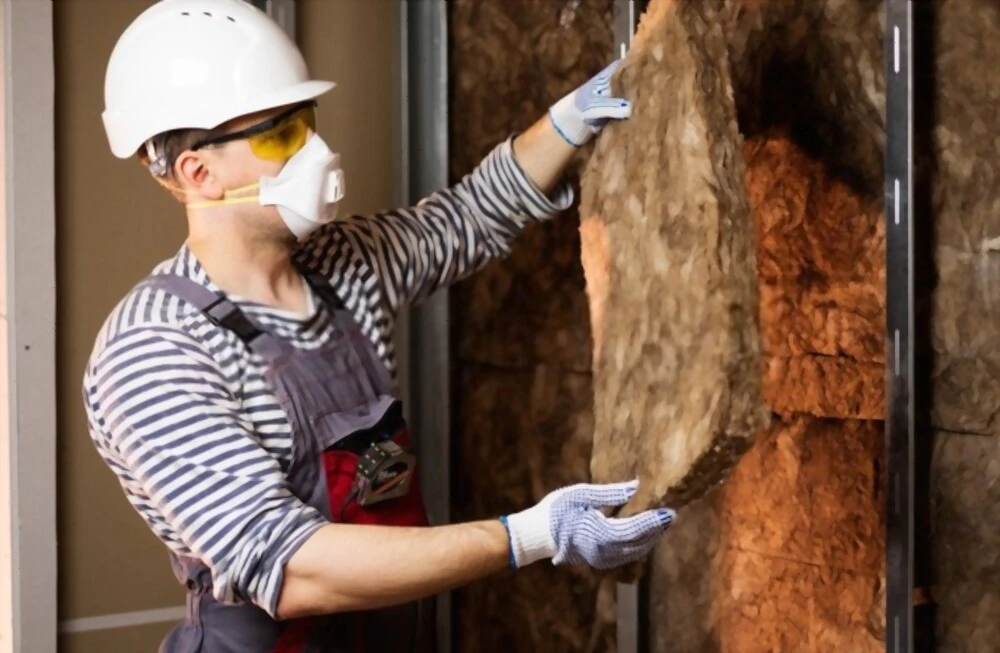
Your safety should be a top priority when painting cabinets. Here are some essential safety items you should use:
- Respirator masks: These protect you from harmful paint fumes.
- Chemical-resistant gloves: Wear these when handling paint and other chemicals.
- Safety glasses: Protect your eyes from paint splatters and debris.
- Protective clothing: Wear old clothes or a paint suit to protect your skin and clothing from paint.
Remember, safety first! Taking precautions may take a bit of extra time, but it’s worth it in the long run.
Step 3: Cabinet Preparation
A well-prepared surface is the foundation of a flawless paint job. So, take your time during this step – it’s worth the effort!
Removing Hardware
First, you’ll want to remove all hardware from your cabinets, including cabinet doors and drawer fronts. This makes the painting process much more manageable. Don’t forget to:
- Label each door and drawer front to ensure easy reassembly.
- Keep all screws and other hardware organized in labeled containers.
Pro tip: Snap a photo of your cabinets before disassembly to help you remember where everything goes when it’s time to put them back together.
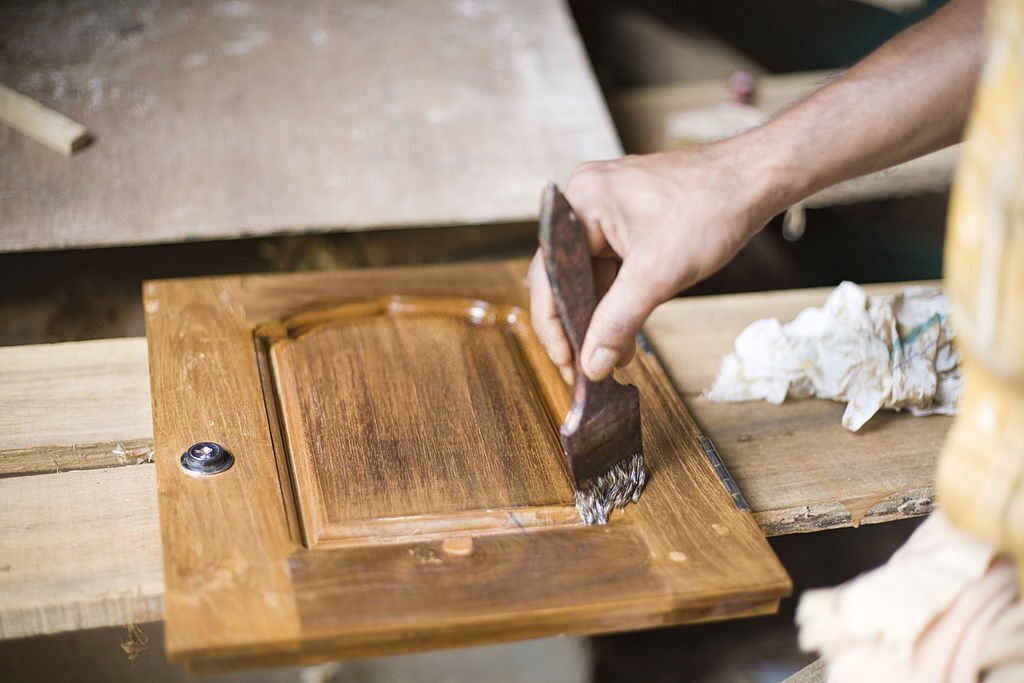
Cleaning and Deglossing
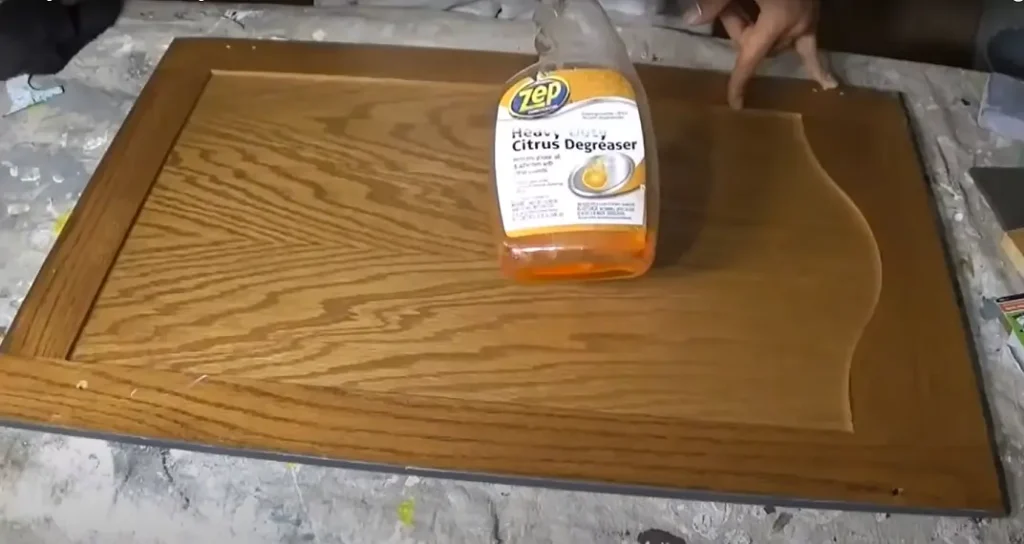
Kitchen cabinets can accumulate dirt, grease, and grime over time. A thorough cleaning is essential for the paint to adhere properly. Here’s what you need to do:
- Use a degreaser or a mix of warm water and mild dish soap to clean the surfaces.
- Rinse with clean water and let them dry completely.
- Apply a deglosser to remove any remaining glossy finish, following the manufacturer’s instructions.
Pro tip: Don’t skip the deglosser! It’s a game-changer for better paint adhesion.
Sanding
Sanding the cabinets ensures a smooth surface and further improves paint adhesion. Keep these pointers in mind:
- Choose the right grit sandpaper (120-150 grit works well for most cabinets).
- Sand with the grain of the wood for a uniform finish.
- Wipe down the surfaces with a damp cloth or tack cloth to remove any sanding dust.
Pro tip: Use a sanding sponge for tight spaces and detailed areas. It conforms to the surface better than sandpaper.
Filling Holes and Cracks
If your cabinets have any holes or cracks, now’s the time to fix them:
- Apply wood filler to the damaged areas, following the manufacturer’s instructions.
- Allow the filler to dry, then sand the filled areas smooth.
- Wipe away any dust with a damp cloth or tack cloth.
Pro tip: Apply the wood filler slightly above the surface, then sand it down to create a seamless finish.
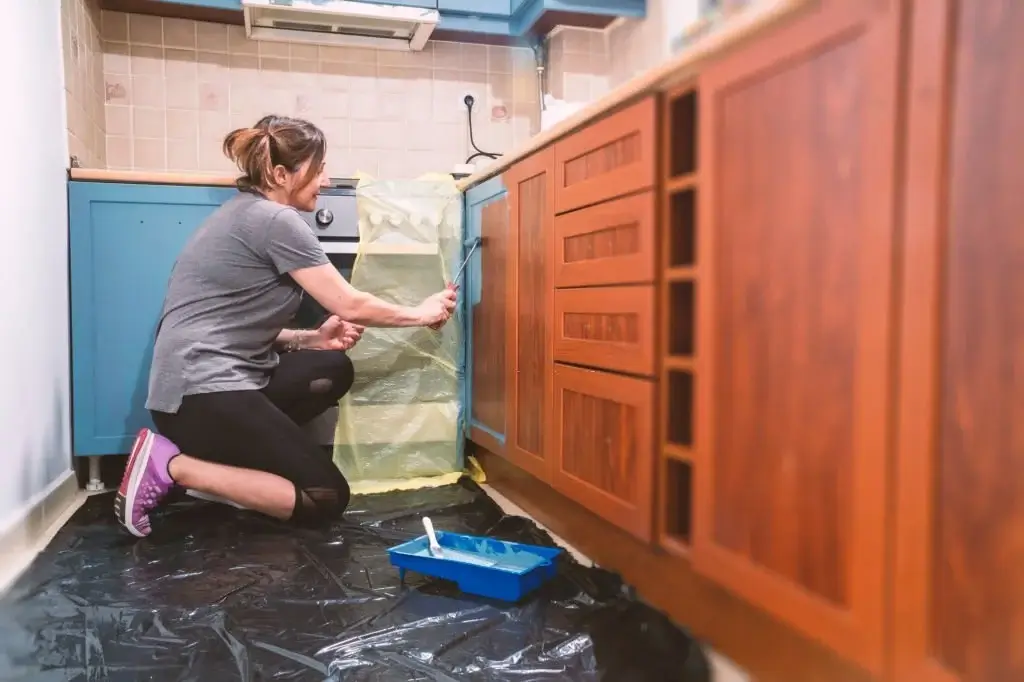
Applying Painter’s Tape and Drop Cloth
Protect your countertops, floors, and any adjacent surfaces from paint spills and splatters:
- Apply painter’s tape to edges and areas you don’t want to be painted.
- Cover the floor and countertops with drop cloths.
Pro tip: Press the painter’s tape firmly along the edges to prevent paint from seeping under it.
Now, with your cabinets fully prepped, you’re ready to move on to the next step – applying primer and painting! Trust me, all this prep work will pay off when you see the final result.
Step 4: Priming and Painting
A well-executed paint job can make your cabinets look brand new. Follow these guidelines for an impressive, professional-looking finish.
Applying Primer
Primer creates a uniform surface and improves paint adhesion, which is essential for a lasting finish. Keep these tips in mind:
- Choose a high-quality primer compatible with your paint type.
- Stir the primer well before use.
- Use a brush or roller to apply a thin, even coat of primer on all surfaces.
- Allow the primer to dry according to the manufacturer’s recommendations.
Pro tip: If your cabinets have a strong wood grain or knots, consider using a stain-blocking primer to prevent any discoloration from showing through the paint.
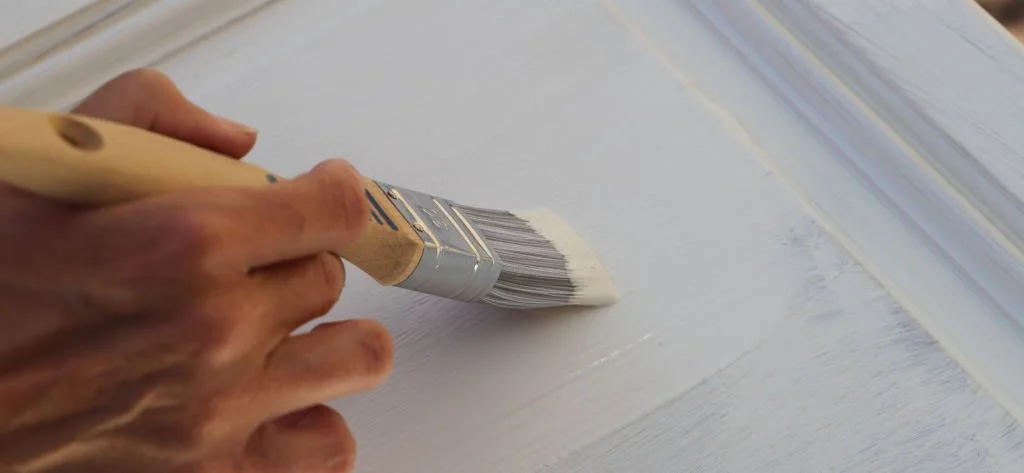
Painting
Now that your cabinets are primed, it’s time to paint them. Follow these steps for a smooth, even finish:
- Choose the right paint: Select a high-quality, semi-gloss paint designed for kitchen cabinets. Consider a VOC-free option for a more eco-friendly choice.
- Stir the paint well: This ensures even color distribution and proper consistency.
- Apply thin, even coats: Use a brush or roller to apply thin, even coats of paint. This prevents drips and results in a smoother finish.
- Sand between coats: Lightly sand between each coat with fine-grit sandpaper (220-240 grit) to achieve a super smooth finish. Wipe away any dust with a damp cloth or tack cloth.
- Apply multiple coats: Apply at least two coats of paint, allowing each coat to dry according to the manufacturer’s recommendations.
Pro tip: Invest in a high-quality brush for a more professional-looking finish. It’ll help reduce brush marks and minimize the risk of stray bristles sticking to the paint.
Drying and Curing
Allow the paint to dry and cure completely before reassembling your cabinets:
- Wait for the paint to dry to the touch before handling the cabinets.
- Allow the paint to cure for the recommended time, typically 7-14 days, before reinstalling hardware and reassembling your cabinets.
Pro tip: Be patient during the curing process. It’s tempting to put everything back together as soon as the paint is dry, but waiting for it to cure will result in a more durable, long-lasting finish.
With these steps, you’re on your way to a stunning kitchen transformation. Enjoy your freshly painted cabinets, and don’t forget to share your experience and newly acquired tips with other DIY enthusiasts!
Step 5: Reassembling Your Kitchen Cabinets
Congratulations on making it this far! You’re just one step away from enjoying your beautifully painted kitchen cabinets. Reassembling your cabinets correctly is crucial for a polished, professional look. Let’s dive into the final step.
Reinstalling Hardware
It’s time to reinstall your cabinet hardware, such as handles, knobs, and hinges. Here are a few tips:
- Clean the hardware with a mild soap and water solution, then dry it thoroughly.
- Inspect the hardware for any signs of wear or damage. Consider replacing it if needed.
- Reinstall the hardware carefully, ensuring it’s securely attached.
Pro tip: If you’re looking to give your cabinets a fresh new look, consider updating the hardware with a modern, stylish design.
Reattaching Cabinet Doors and Drawer Fronts
Now that the hardware is in place, it’s time to reattach the cabinet doors and drawer fronts. Follow these guidelines:
- Refer to the labels and photos you took during disassembly to ensure proper placement.
- Reattach the doors and drawer fronts, adjusting the hinges as needed for a smooth, even fit.
- Check that the doors and drawers open and close properly without rubbing or scraping against the frame or each other.
Pro tip: If you’re having trouble aligning your cabinet doors, try loosening the hinge screws, adjusting the door position, and then tightening the screws again.
Final Touches
You’re almost done! Finish off your project with these final touches:
- Remove any painter’s tape and drop cloths from your workspace.
- Clean up any paint spills or splatters using a damp cloth or scraper.
- Inspect your cabinets for any missed spots, touch up as needed, and let the paint dry and cure.
- Enjoy your newly transformed kitchen and share your success with friends and family!
Pro tip: Keep leftover paint and primer in airtight containers for future touch-ups, if needed.
You’ve successfully painted your kitchen cabinets and given them a new lease on life! Your hard work and attention to detail have paid off, and your cabinets now have a professional-looking, smooth finish. Enjoy the fruits of your labor and be proud of your DIY skills. Remember to share your experience and tips with others looking to embark on a similar journey. Happy painting!
Conclusion
Painting your kitchen cabinets can be a rewarding DIY project that significantly enhances the appearance of your kitchen. With the right tools, preparation, and patience, even beginners can achieve a professional-looking result. Remember, the key to a successful project lies in the details: proper cleaning, sanding, priming, and allowing for adequate drying and curing time.
So go ahead, grab your supplies and get started on your cabinet makeover journey! And don’t forget to share your before and after photos with your friends – they’ll be amazed by your transformation!