
The best solution for cleaning painted cabinets is to scrub them regularly with a soft cloth or a sponge. This will help stop the buildup of dirt and grease.
Are your painted cabinets looking dull and dingy? Has years of use and grease buildup left them looking worse for wear?
Cleaning kitchen cabinets is extremely important. Over time dirt and grease build up inside or outside kitchen cabinets. This becomes the ideal environment for germs and bacteria buildup.
Thus harming your and your loved ones’ health. In addition to this, cleaning kitchen cabinets improve your cabinets’ outer look and increases their longevity by preventing damage and wear.
With our easy DIY steps, you can tackle this task like a pro and restore your cabinets to their former glory. Whether you’re dealing with stubborn stains, grease, and yellowed white cabinets or need a general deep clean, our step-by-step guide has got you covered.
In this article we will uncover all the cleaning supplies you need and how to clean kitchen cabinets step by step.
So, let’s get started and get those cabinets looking brand new again!
- What To Clean Painted Cabinets With?
- Step-by-Step Guide to Cleaning Painted Cabinets
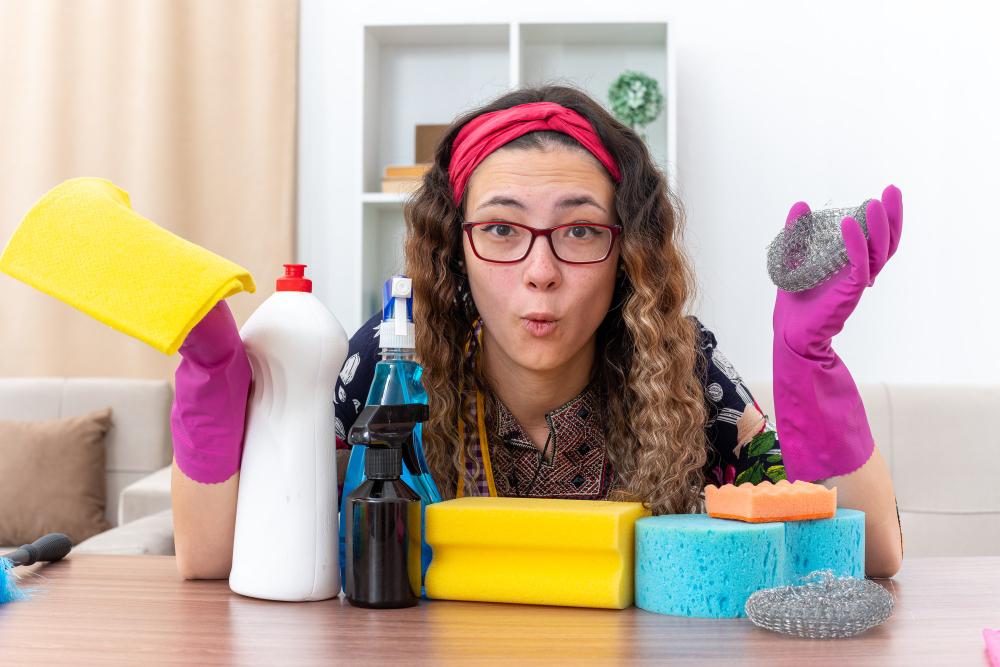
- Step 1: Gather Your Supplies
- Step 2: Remove Everything from the Cabinets
- Step 3: Mix Up Your Cleaning Solution
- Step 4: Clean the Exterior Surfaces
- Step 5: Clean the Interior Surfaces
- Step 6: Clean The Hinges And Hardware
- Step 7: Sanitize the Interior Surfaces
- Step 8: Dry the Cabinets
- Step 9: Polish and Protect the Surface
- Conclusion
What To Clean Painted Cabinets With?
Remember, a little bit of effort in cleaning and maintaining your painted cabinets can go a long way in preserving their beauty and durability.
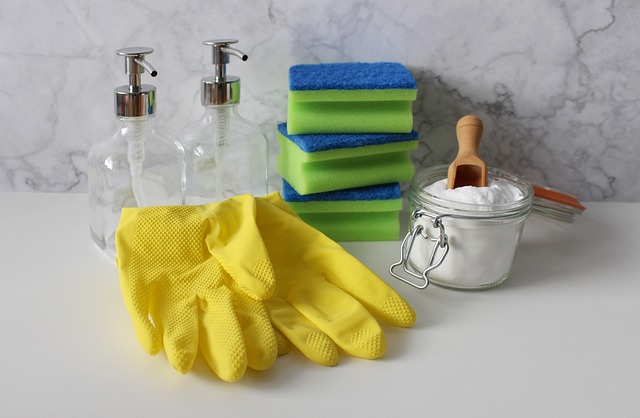
To clean painted cabinets, you will need the following equipment:
- Warm water
- Gentle dish soap or a cleaning solution such as vinegar or baking soda
- Soft microfiber cloth
- Soft-bristled brush (such as a toothbrush) for stubborn stains and grease buildup
- Degreaser (if needed)
- Bucket or bowl for mixing cleaning solution
- Disinfectant spray for sanitizing
- Furniture wax or oil for polishing and protecting the painted surface
Step-by-Step Guide to Cleaning Painted Cabinets
So, roll up your sleeves and be ready to transform your cabinets into a beautiful and functional centerpiece of your home.
We believe in you and are confident you can achieve great results with our step-by-step guide.
Step 1: Gather Your Supplies
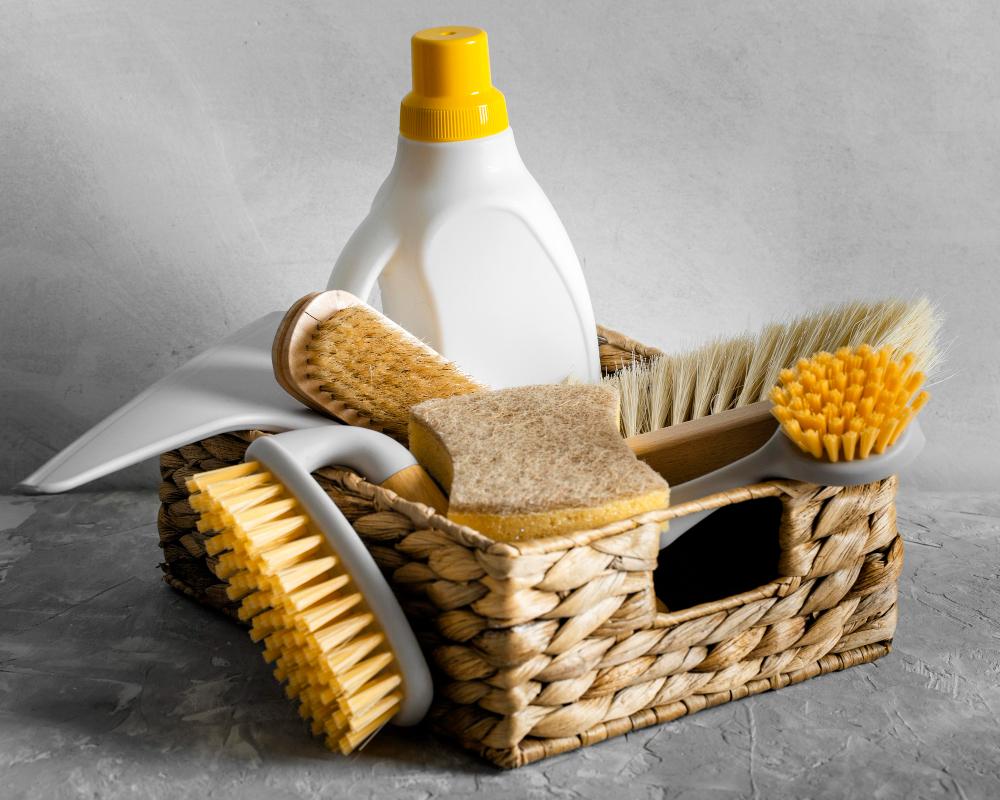
Before cleaning your painted cabinets, gather all the supplies you will need. This includes:
- Warm water
- Gentle dish soap or cleaning solution
- Soft microfiber cloth
- Soft-bristled brush
- Degreaser (if required)
- Bucket or bowl
- Disinfectant spray
- Furniture wax or oil.
Step 2: Remove Everything from the Cabinets
Once you have gathered all your supplies, the next step is taking out all the stuff from your kitchen cabinets.
Empty your cabinets entirely, taking out all of the items inside. This will provide you with better access to the interior surfaces, making it easier to clean them thoroughly.
Step 3: Mix Up Your Cleaning Solution
Mix up your cleaning solution in a bucket or bowl. Use warm water and a little amount of dish soap for a gentle solution.
For tougher stains and grease buildup, add a degreaser to the mix. Avoid using too much water because it can damage the wood and finish.
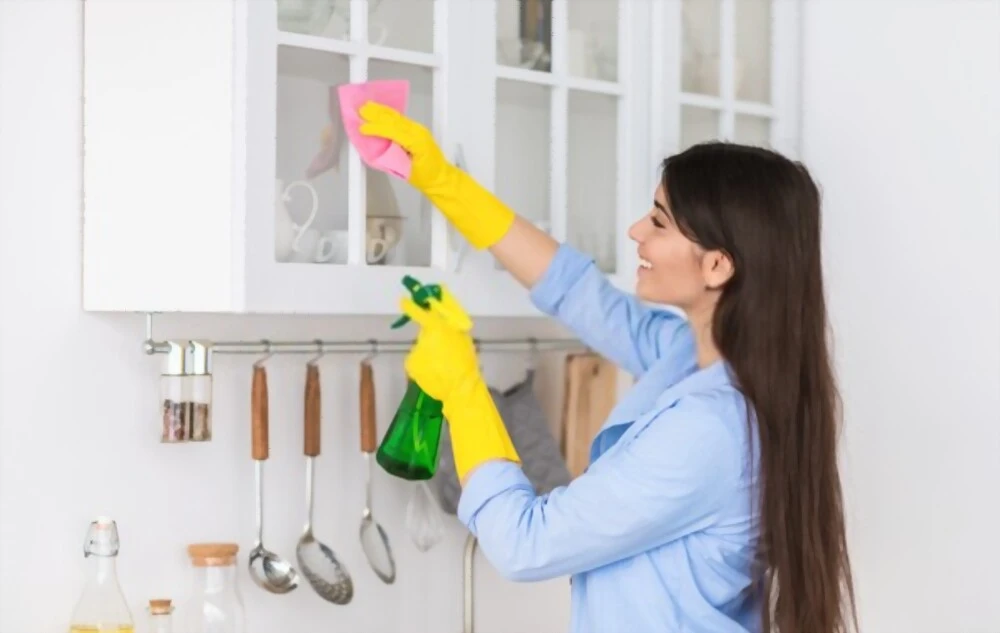
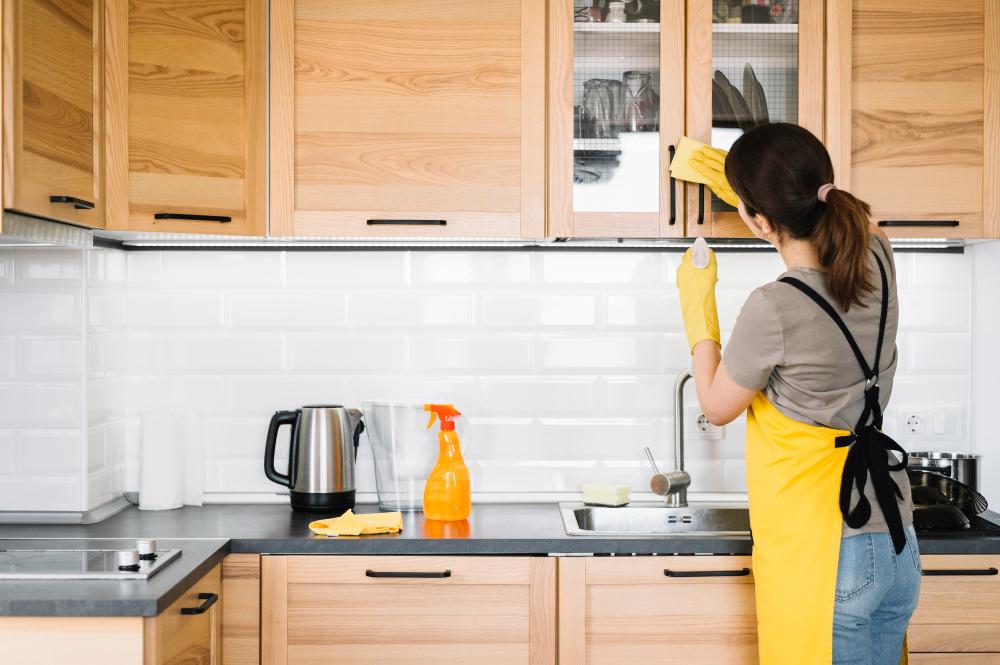
Step 4: Clean the Exterior Surfaces
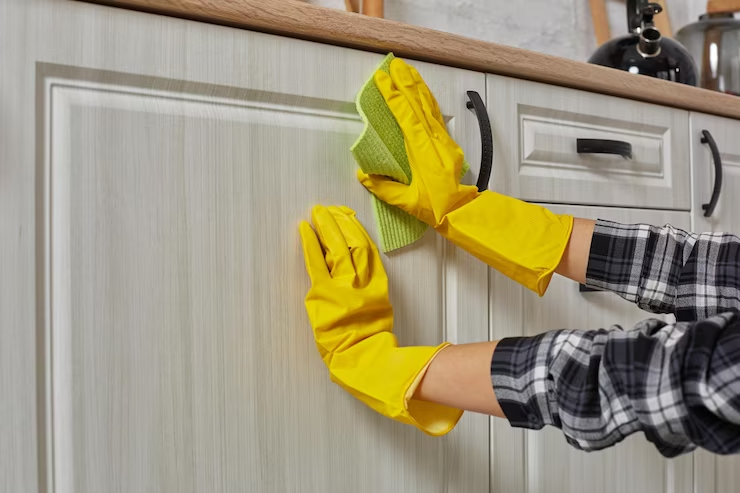
Dip your microfiber cloth in the cleaning solution and wring it out until it’s damp but not dripping.
Use this cloth to wipe down the exterior surfaces of your cabinets, being careful not to apply too much pressure or scrub too hard.
Avoid using abrasive cleaners or scrubbing pads that could damage the painted surface.
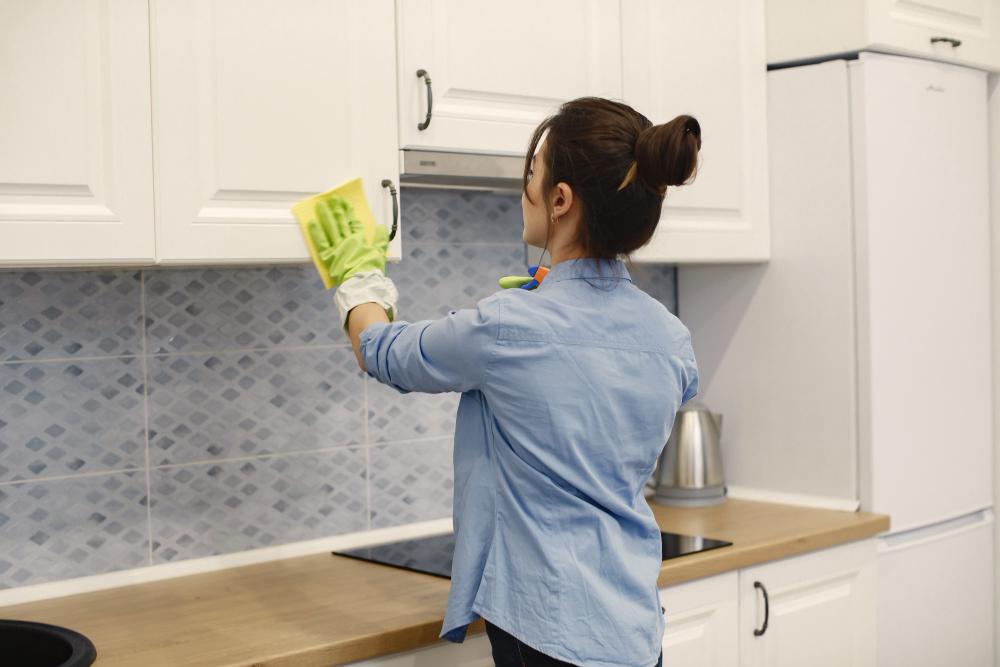
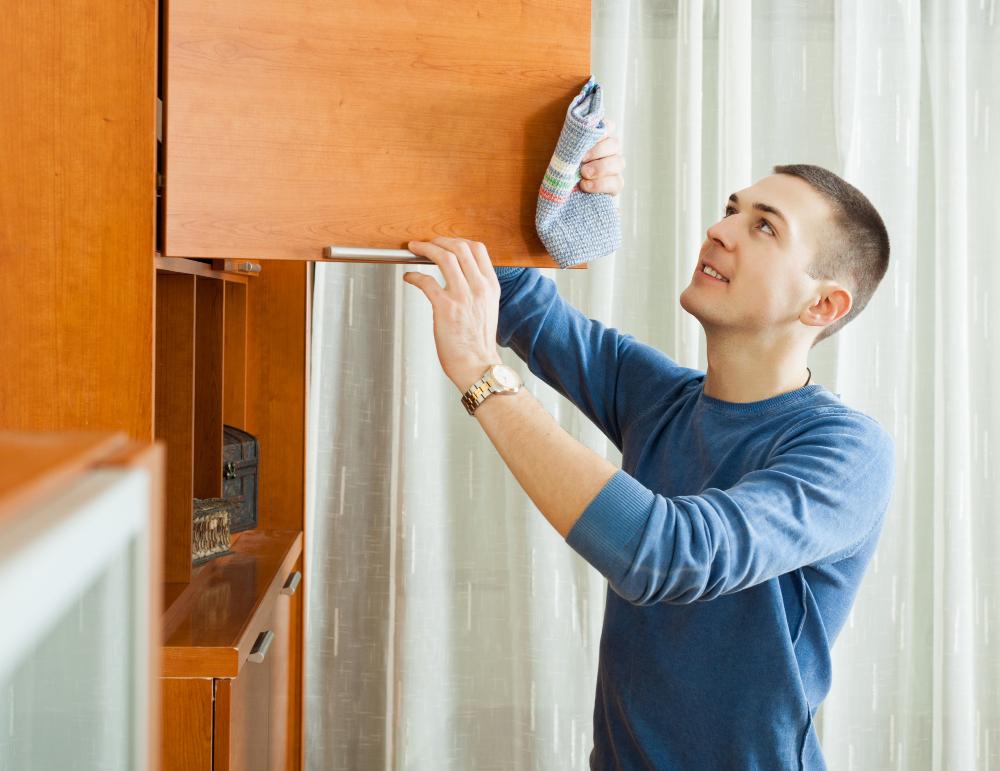
Step 5: Clean the Interior Surfaces

Using a soft-bristled brush or toothbrush dipped in the cleaning solution, gently scrub the interior surfaces of your cabinets.
Be sure to get into all the corners and crevices to remove dirt and grime. Rinse thoroughly with clean water.
Create a paste of baking soda and water for tough stains or grease buildup. Then apply it to the affected area with a soft-bristled brush
Afterward, dry with a soft cloth. It’s always best to let the kitchen cabinets air dry after wiping them with a cloth.
Step 6: Clean The Hinges And Hardware
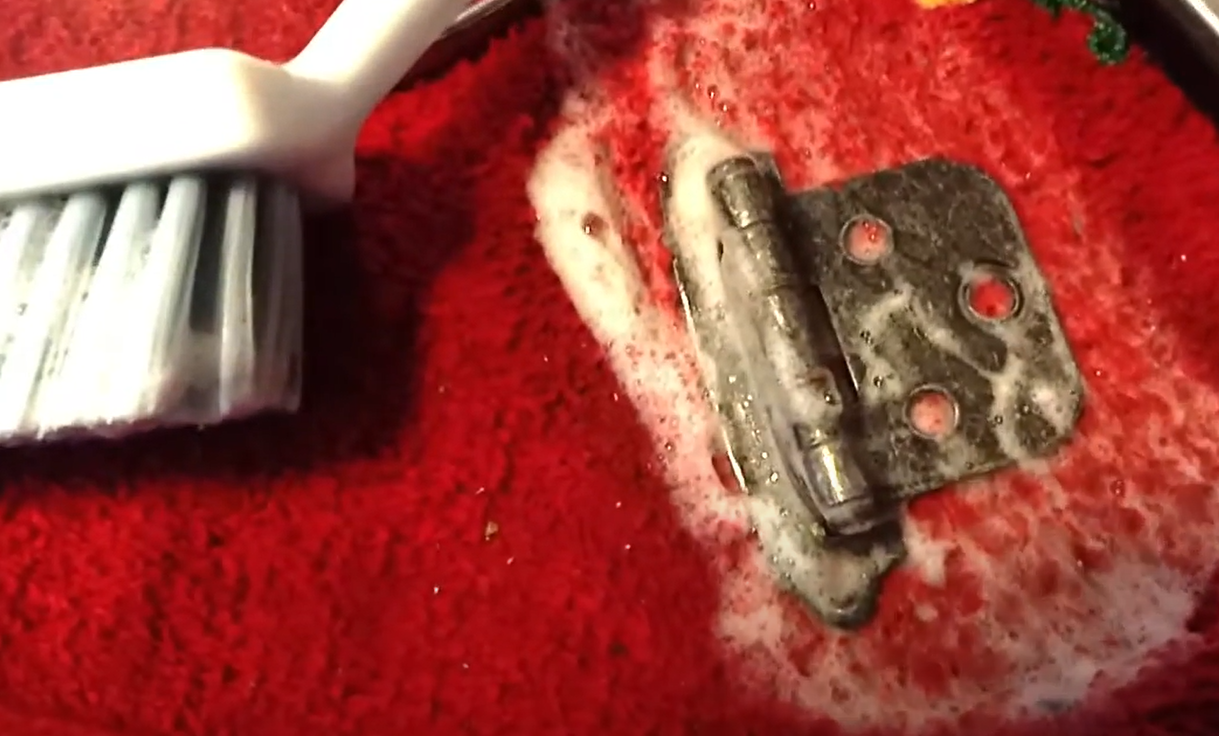
The next step is to clean your kitchen cabinets, handle hinges, and hardware. Cover your index finger with a cloth to clean the hinges.
You need to use a mixture of water and white vinegar for stubborn grease marks. Rub this solution on the hinges with a soft toothbrush.
Using the soft brush, clean metal or ceramic hardware, and all the areas around the knobs handles and pulls. All these parts usually accumulate grease and grime.
So cleaning them is essential.
Step 7: Sanitize the Interior Surfaces
Spray a disinfectant spray onto the interior surfaces of your cabinets, and let it sit for a few minutes. This will help to kill any germs or bacteria that may be present.
Wipe away the spray with a clean, damp cloth.
Step 8: Dry the Cabinets
s
As soon as you wipe the cabinet with a damp cloth, wipe it with a dry cloth. This will help you keep the cabinets dry and clean without damaging them.
If you place things in wet cabinets, they may become damp or even wet, depending on the severity of the moisture in the cabinets.
Step 9: Polish and Protect the Surface
Once your cabinets are clean and dry, apply a furniture wax or oil to the painted surface. This will help to maintain the finish and protect against future damage.
Apply the wax or oil with a soft cloth, following the manufacturer’s instructions.
By following this simple guide, you can easily clean and maintain your painted cabinets, keeping them looking their best for years to come!
Conclusion
Cleaning painted cabinets is an important task that can significantly improve the appearance and longevity of your cabinets.
Remember to use gentle cleaning solutions, avoid abrasive cleaners, and regularly disinfect the interior surfaces to keep cabinets looking and smelling fresh.
We strongly encourage readers to take on this DIY project. This can save money on professional cleaning services and offer great accomplishment in completing the task themselves.
With regular cleaning and maintenance, painted cabinets can maintain their beautiful appearance and last longer.
So, don’t hesitate to grab your cleaning supplies and get started today!
We hope our guide was helpful and informative. Best of luck with your DIY cabinet cleaning project.