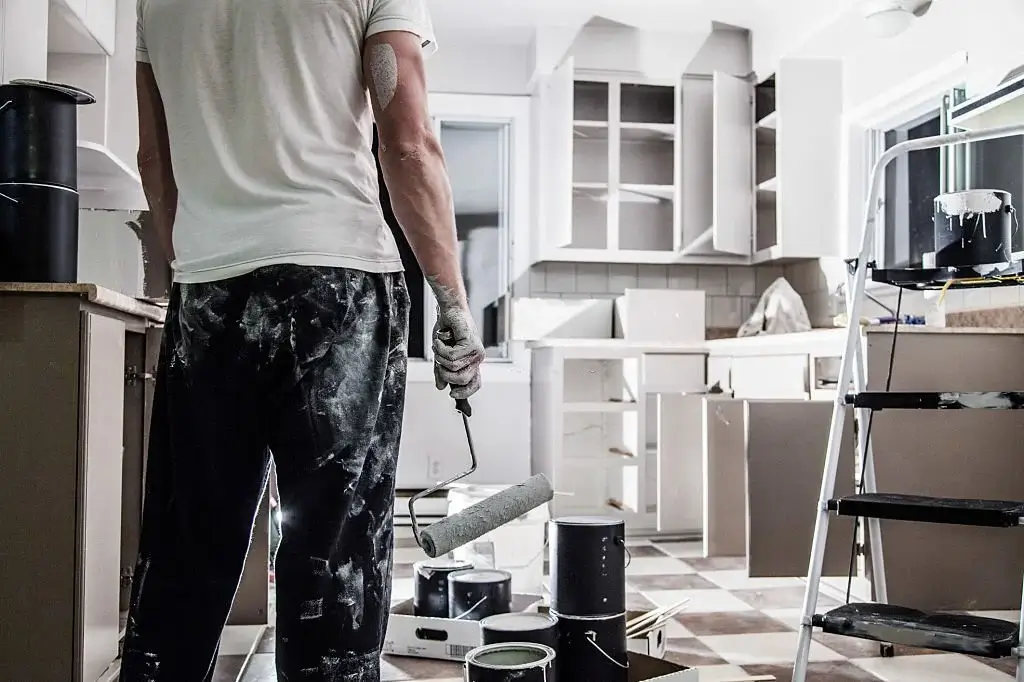
As an pro painter, I found the video “How to Paint & Repaint Cabinets- rewarding!” by Roger Beattie Craft channel to be incredibly valuable for beginners looking to redo painted cabinets. Roger shares his personal experience building and painting his own cabinets, making it relatable and easy to follow.
Roger Beattie Craft is a DIY enthusiast who loves sharing his tips and tricks for woodworking and crafting on his YouTube channel. He has a friendly and personable tone, making his content accessible for all levels of expertise.
Check out his tutorial.
Benefits of Redoing Painted Cabinets
- Cost-effective: Redoing your painted cabinets is a cost-effective alternative to replacing them. The cost of replacing cabinets can quickly add up, but by repainting them, you can save a significant amount of money.
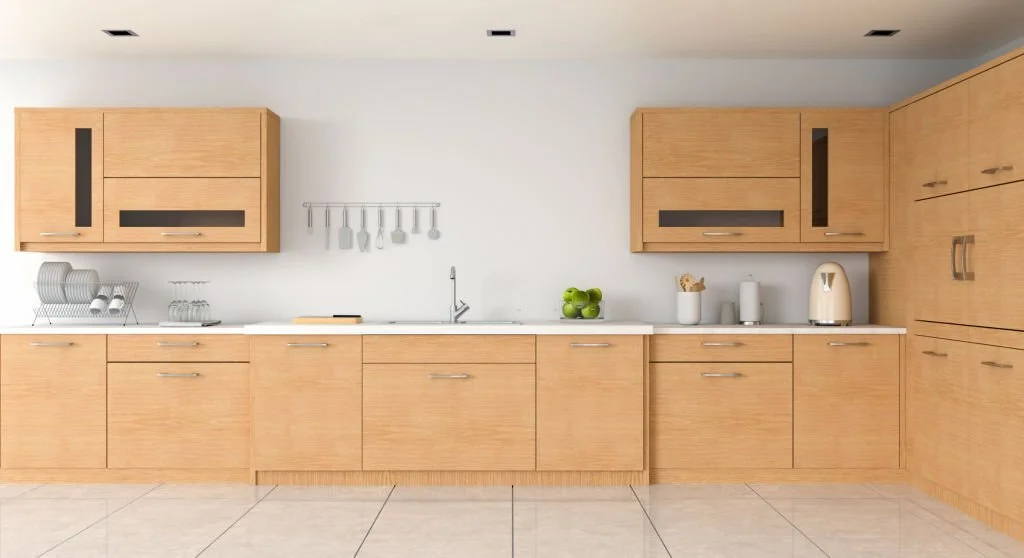
- Customizable: When you repaint your cabinets, you have the opportunity to customize the look and feel of your kitchen. You can choose any color you like, and even experiment with different finishes such as matte, glossy, or satin.
- Increases Home Value: Redoing your painted cabinets can increase the value of your home. A fresh coat of paint can make a huge difference in the overall appearance of your kitchen and make it more attractive to potential buyers.
- Eco-Friendly: Redoing your painted cabinets is an eco-friendly option. By repainting your cabinets, you’re preventing them from ending up in a landfill, and you’re also conserving resources that would have been used to manufacture new cabinets.
- Quick and Easy: Compared to replacing your cabinets, repainting them is a quick and easy process. You can complete the project in a matter of days, and you won’t have to deal with the mess and hassle of a full cabinet replacement.
Step-by-step guide on how to redo painted cabinets:
Materials:
- 180-grit sandpaper
- Wood filler
- Caulking gun
- Caulk
- High-quality paint sprayer
- Tack cloth
Step 1: Clean the Surface
Before you begin, it’s essential to clean the surface of any oil, fingerprints, and dirt. Use a mild soap and warm water to scrub the cabinets thoroughly. This step will ensure that the paint adheres well to the surface and gives you a smooth finish.
Step 2: Lightly Sand the Surface
Next, use 180 grit sandpaper to lightly sand the surface. The goal is to smooth out any bumps and give the paint something to stick to. Don’t be too aggressive with the sanding, as you don’t want to damage the wood underneath.
Step 3: Remove Sanding Dust
If there’s a lot of sanding dust, blow off the surface and use a paintbrush to help remove the dust. This step will ensure that your paint job is free of debris, resulting in a smooth finish.
Step 4: Caulk and Wood Putty the Grooves and Dips
Now, it’s time to caulk and wood putty any grooves and dips in the cabinets. This step will give your cabinets a smooth, even surface and help hide any imperfections.
Step 5: Use a Tack Cloth to Wipe Away Excess Dust
After sanding and filling in the grooves, use a tack cloth to wipe away any excess dust. This step will ensure that your paint adheres well to the surface.
Step 6: Prime the Cabinets
If you’re working with bare wood, spray ZINSSER BIN Primer Ultimate Stain Blocker in a RED container onto the surface. Once this dries, you must sand it because anything wet on bare wood raises the grain.
Step 7: Mask Off the Area
To protect the areas you don’t want overspray to get on, mask off the surrounding surfaces using painter’s tape and plastic sheeting.
Step 8: Choose the Right Paint
I recommend using BEHR Alkyd Satin Enamel, which is designed for interior/exterior use on metal, wood doors, trim, and cabinetry. This paint offers excellent durability and a beautiful satin finish.
Step 9: Select the Right Spray Tip
For a smooth and even application, use a 311 spray tip. This size is perfect for achieving a professional-looking result on your cabinets.
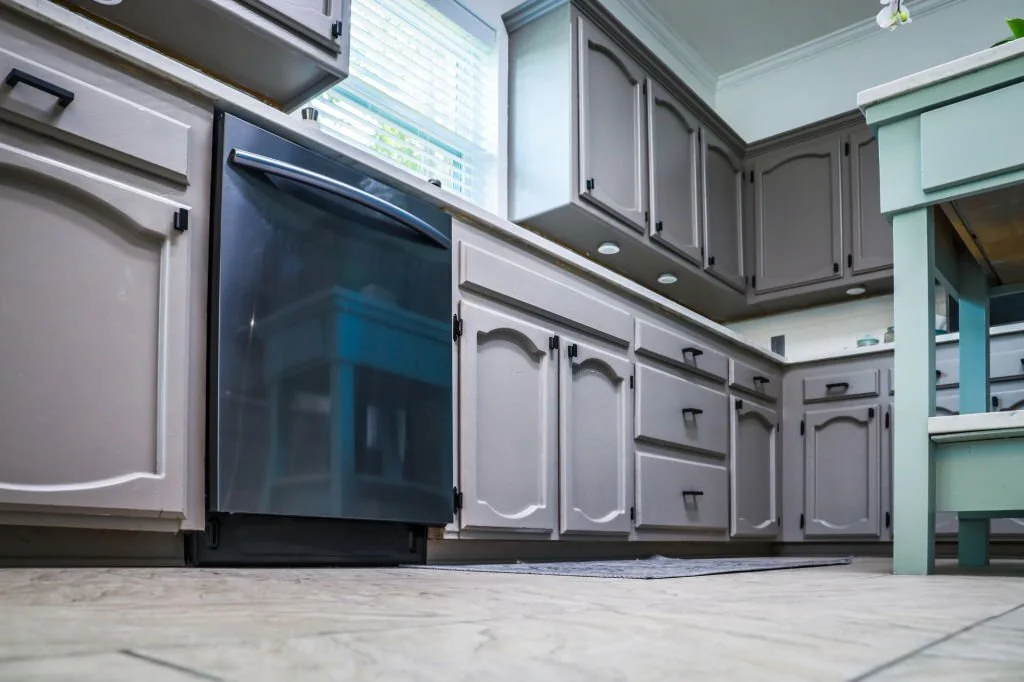
Step 10: Choose the Perfect Color
For a beautiful gray paint color, try Behr 7900 white base with custom color BL 1oz (28), LL 1oz (224), and RL 0 oz (32). These numbers represent the colorant added to the base paint, creating the perfect shade for your cabinets.
Key Takeaways:
- Sanding and filling imperfections are crucial for a smooth and professional-looking finish.
- Caulking gaps between the cabinets and doors prevents crumbs and liquids from getting trapped.
- Using a high-quality wood filler and tack cloth ensures a smooth surface for painting.
- Painting the back of the doors first helps prevent sticking and allows for a better finish.
- Keeping the sprayer parallel to the surface while painting prevents uneven spraying and runs.
Resources mentioned:
- High-quality wood filler.
- Tack cloth: Available at hardware or home improvement stores.
- Wire tie for caulking tube: Available at hardware or home improvement stores.
As a pro painter, my personal best advice is to invest in quality materials and take your time with the process. Rushing the sanding or painting can lead to a sloppy finish, so be patient and enjoy the rewarding process of transforming your cabinets.
FAQ
- Do I need to remove the doors and hardware before painting?
- Yes, it’s best to remove the doors and hardware to ensure a smooth and even paint job.
- Can I paint over old paint or do I need to strip it first?
- You can paint over old paint, but it’s best to sand it first to create a smooth surface.
- How long should I wait between coats of paint?
- Follow the manufacturer’s instructions for drying time, usually 2-4 hours.
- Can I use a brush instead of a sprayer for painting?
- Yes, you can use a brush, but a sprayer provides a smoother and more professional finish.
- Can I skip the caulking step?
- While it’s not required, caulking gaps between the cabinets and doors helps prevent crumbs and liquids from getting trapped, leading to a cleaner and more hygienic kitchen.
Conclusion
Now that you’re equipped with the knowledge and tools to redo your painted cabinets, it’s time to get started! Follow these steps, and you’ll be well on your way to creating a beautiful, modern kitchen that you’ll love for years to come. Happy painting!